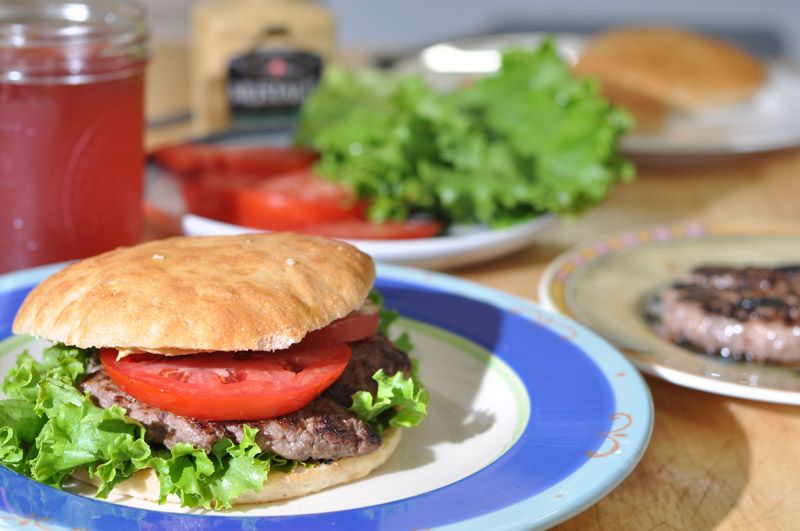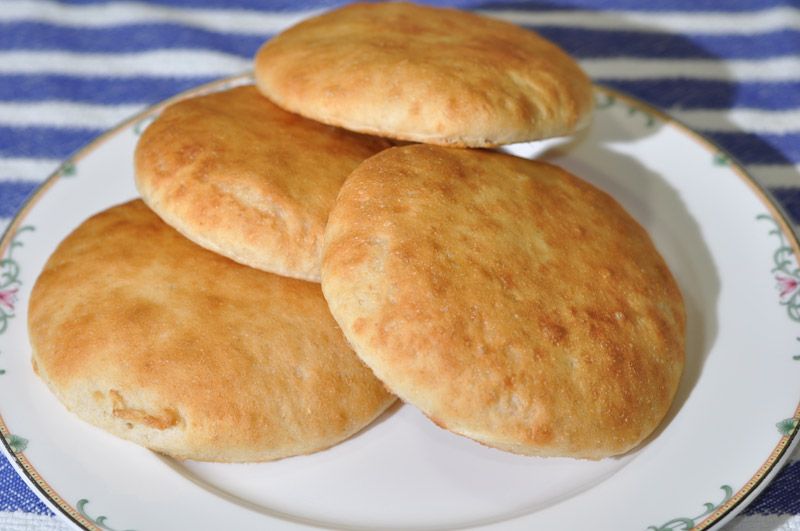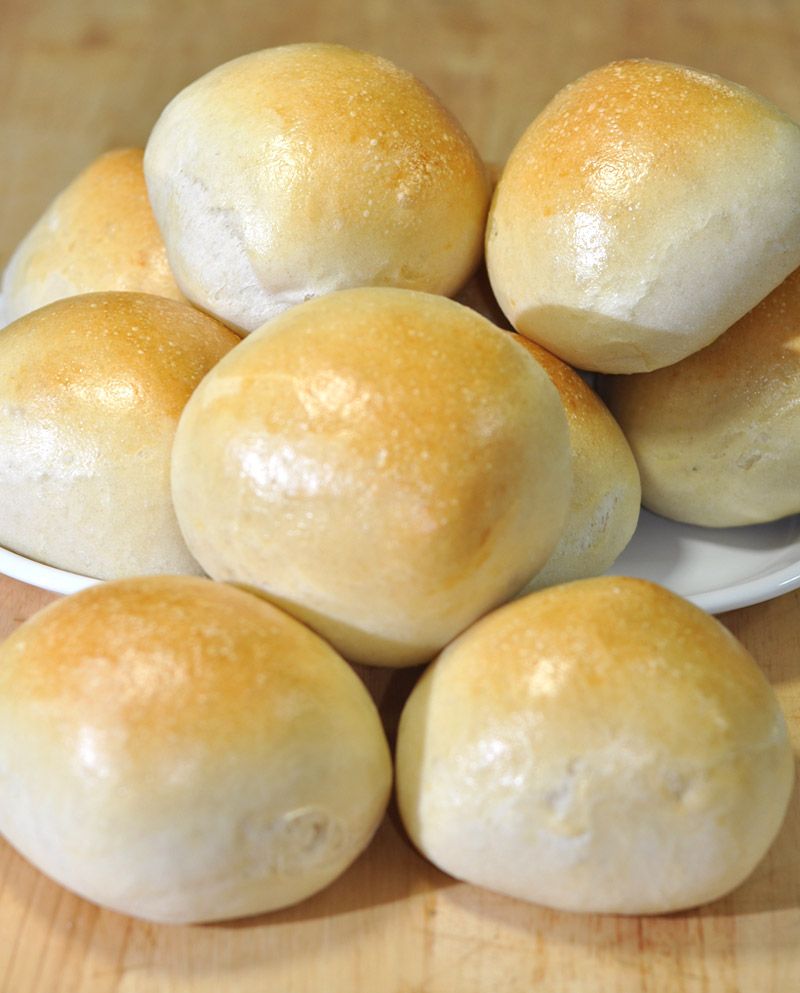
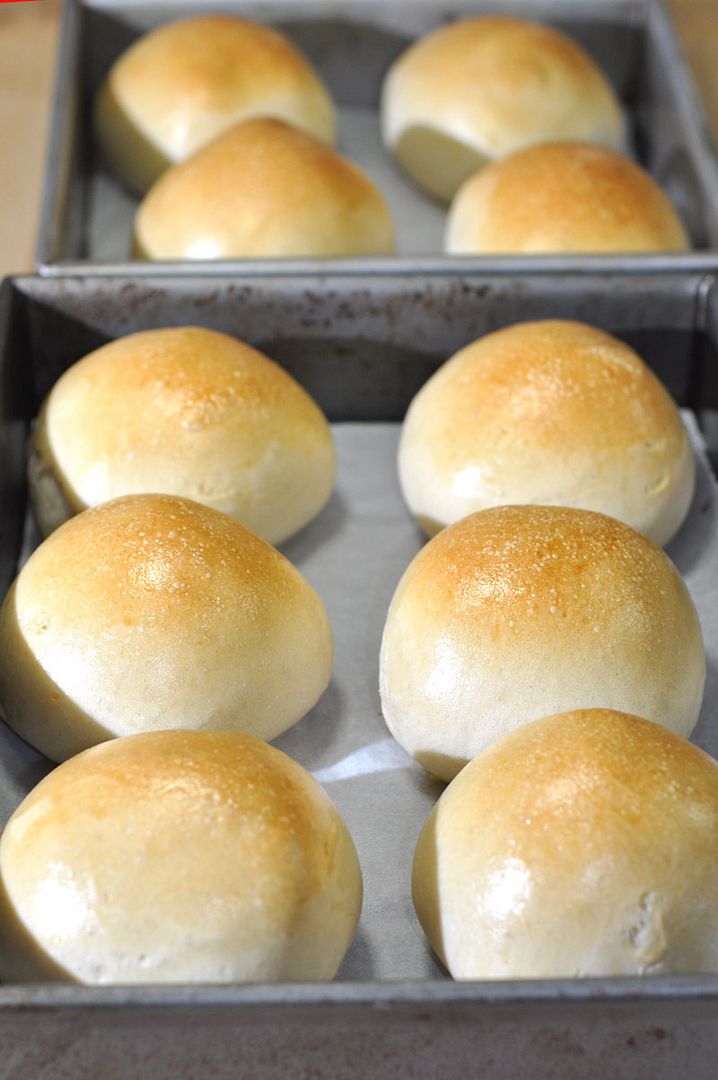
My buns are still better than your buns. They're firmer, they're more more rounded, they're warmer, they're more open, they're tastier, and they stay fresh longer. SHUT UP! They ARE!
Here's how your buns can be as good as mine. See, I'm a giver.
Take a moment and make yourself a biga, that's Italian for poolish, which is French for pre-fermented dough. Sponge, if you like. That would be half the amount of total dough with a fraction of the yeast and none of the salt made one day in advance. Or half a day. Or overnight. Just do it in two parts separated by time.
The next day add all the rest of the ingredients for the full amount of dough. You'll be amazed at the difference this one simple change will make. Take it from me because I'm a freak'n EXPERT!
For 10 buns that are 3.25 oz each.
* 3/4 C warm water
* 1/4 Teaspoon commercial yeast
* 1 to 1.5 Cups flour. However much it takes to make a loose dough.
* Cover and set aside at room temperature.
* Time. The most special ingredient of all . No effort required. No watch needed. Use as much as you want within reason.
Next day:
* 3/4 C warm water
* NO yeast. Not necessary. Therefore, t'would be possess'd with double pomp, to guard a title that was rich before, to gild refined gold, to paint the lily, to throw perfume on the violet, to smooth the ice, or add another hue unto the rainbow, or with a taper-light to seek the beauteous eye of heaven to garnish. Is wasteful and ridiculous excess. SO DON'T DO IT! NOOOOOOOOOOOO0000000ooo.
Or go ahead if you want to.
* Add enough flour to stiffen the dough. As you proceed, occasionally remove a small portion and feel with your fingertips how the dough stretches. If the dough is too sticky, obviously add more flour. If the dough is too stiff, then you overdid it with the flour so correct by drizzling water. Continue in this manner until you achieve the desired ratio of liquid to flour.
* 3 Tablespoons olive oil
* 1 level teaspoon kosher salt (or less table salt)
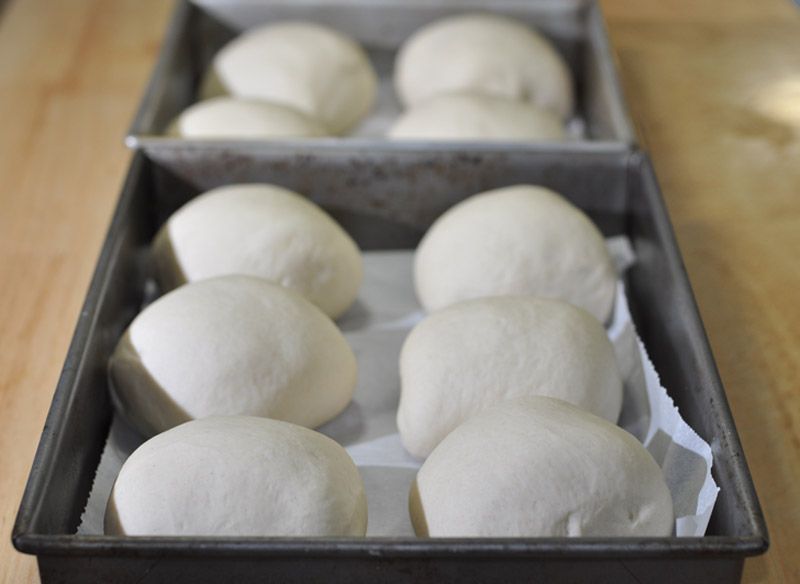
Today, I formed the dough into little balls and they rose separately. This required two overturned storage tubs. When the balls expanded, but didn't quite double, one by one I flattened the dough balls, which at this point are quite tender, and folded them in thirds. then stretched the folded dough again and folded it in thirds again, maintaining the stack as if it were a very thick puffy blanket, now folded into a pillow shape. Pinched the edges. Then tidied the pinches. This treatment does not completely smash the dough nor does it completely obliterate the bubbles that formed. All it does is prevent GIGANTIC bubbles from forming and wrecking a sandwich-like bread crumb. Small bubbles okay, Huge bubbles not okay, for this application. For artesian bread and baguette types, batons, boules and the like, open crumb with large holes is desirable, but not here.
That's all you're having on the theory of bread dough for buns.
* 3 Tablespoons olive oil
* 1 level teaspoon kosher salt (or less table salt)
Today, I formed the dough into little balls and they rose separately. This required two overturned storage tubs. When the balls expanded, but didn't quite double, one by one I flattened the dough balls, which at this point are quite tender, and folded them in thirds. then stretched the folded dough again and folded it in thirds again, maintaining the stack as if it were a very thick puffy blanket, now folded into a pillow shape. Pinched the edges. Then tidied the pinches. This treatment does not completely smash the dough nor does it completely obliterate the bubbles that formed. All it does is prevent GIGANTIC bubbles from forming and wrecking a sandwich-like bread crumb. Small bubbles okay, Huge bubbles not okay, for this application. For artesian bread and baguette types, batons, boules and the like, open crumb with large holes is desirable, but not here.
That's all you're having on the theory of bread dough for buns.